Everyone knows that with the introduction of Modern Pages to Office 365 and SharePoint, it has become quite easy to develop beautiful websites and pages. All this, without any prior design experience. For customizing the look and feel of your modern pages we recommend you to employ custom site designs, custom tenant branding, and modern site themes. Utilize SharePoint Framework Extensions and page placeholders to customize the recognizable areas of the modern pages. Right now, it is possible to see those recognizable locations at the top and bottom of the page. However, in a few weeks’ time chances are, there will be a lot more placeholder locations coming.
However, imagine a scenario: If your company has a stringent branding guideline that requires particular changes to every page, what is the best solution for that situation? It is during such times that your customization needs to go beyond the support that is provided in the themes. You also need to determine when is it time to tweak outside of those well-known locations.
Alternatively, in case you are developing a student portal on Office 365 and wish to add a custom font on a page that is specially designed for users with dyslexia, this is where you need to employ a custom CSS. To take full advantage of these amazing features and more in SharePoint, we recommend you to avail the services from a SharePoint development company by employing SharePoint development services.
In the forthcoming sections of this write-up, we have provided comprehensive information on how to add a custom CSS file in the SharePoint framework. We promise that after reading this content piece, you will be able to customize SharePoint pages with the help of ingenious CSS customizations.
Let’s begin.
When you start with CSS customizations, remember, you should always color within the lines. Never do an activity that is not supported. In case you do that chances are, you will run into issues that will make you on your own.
It is important to note that Microsoft is continually integrating new features into SharePoint. The customizations made while adding custom CSS might stop working if the structure of the pages are changed.
With the help of custom CSS (also known as CSS zen master), it is possible to do just about anything. The right question for you to ask is whether it is the right thing to do instead of whether it is possible to do it.
By employing SharePoint Framework Extensions, it is possible to write code that can be attached to any web, site, or lists. With the help of an extension, it is possible to insert tags in the HTML Head element.
Now you might have a doubt. You can insert a STYLE BLOCK in the HEAD element and insert your CSS. However, what happens when you need to alter your CSS? Is it time to re-build and re-deploy your extension? No chance!
Instead of that, we suggest you insert a LINK tag and point to a custom CSS located in a shared location. This way, you will be able to alter the custom CSS in a single place.
It is even possible to have more than one custom CSS. This way, you will be able to employ your extension properties to mention the URL to your custom CSS. It is even possible to add more than one extension on a site to amalgamate multiple custom CSS together to meet your requirements.
Adding Your Custom CSS Extension
It is possible to design an attractive SharePoint site like this:
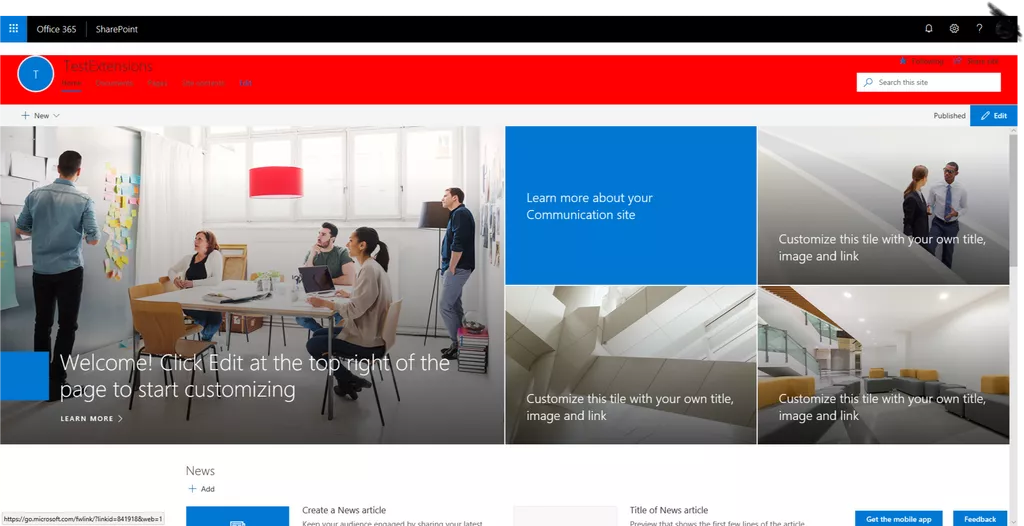
The very first step is to create own custom CSS. For example, the above look was achieved using the following CSS:
.ms-compositeHeader {
background-color: red;
}
.ms-siteLogoContainerOuter {
border-radius: 50%;
border-width: 3px;
}
.ms-siteLogo-actual {
border-radius: 50%;
}
Next step, save your custom CSS to a shared location on your SharePoint tenant. For example, save it in the Styles Library of your root site collection. It is even possible to add it to your own Office 365 CDN. Make sure to note down the URL to your CSS for later use. For example, if you saved your custom CSS at contoso.css in the Styles Library of your tenant contoso.sharepoint.com, your CSS URL will be:
https://contoso.sharepoint.com/Style%20Library/contoso.css
You can even simplify it to:
/Style%20Library/custom.css
Make an SPF extension by following the instructions given here.
Alter the props interface that was created for your ApplicationCustomizer class. Next, substitute the description property with cssurl. For example, my ApplicationCustomer class is known as InjectCssApplicationCustomizer. In that case, my props interface will be known as IInjectCssApplicationCustomizerProperties. Look at the code given below:
export interface IInjectCssApplicationCustomizerProperties {
cssurl: string;
}
Make the necessary changes to your OnInit method. Put a LINK element pointing to your cssurl property.
@override
public onInit(): Promise<void> {
Log.info(LOG_SOURCE, `Initialized ${strings.Title}`);
const cssUrl: string = this.properties.cssurl;
if (cssUrl) {
// inject the style sheet
const head: any = document.getElementsByTagName(“head”)[0] || document.documentElement;
let customStyle: HTMLLinkElement = document.createElement(“link”);
customStyle.href = cssUrl;
customStyle.rel = “stylesheet”;
customStyle.type = “text/css”;
head.insertAdjacentElement(“beforeEnd”, customStyle);
}
return Promise.resolve();
}
Go to serve.json which can be found in the config folder, alter the pageURL to connect to a page on your tenant. On top of this, change the cssurl property to pass the URL to the custom CSS created in the first two steps:
{
“$schema”: “https://dev.office.com/json-schemas/core-build/serve.schema.json”,
“port”: 4321,
“https”: true,
“serveConfigurations”: {
“default”: {
“pageUrl”: “https://contoso.sharepoint.com/SitePages/Home.aspx”,
“customActions”: {
“fcea9230-7f22-45b7-815c-081a49474611”: {
“location”: “ClientSideExtension.ApplicationCustomizer”,
“properties”: {
“cssurl”: “/Style%20Library/custom.css”
}
}
}
},
“injectCss”: {
“pageUrl”: “https://contoso.sharepoint.com/SitePages/Home.aspx”,
“customActions”: {
“fcea9230-7f22-45b7-815c-081a49474611”: {
“location”: “ClientSideExtension.ApplicationCustomizer”,
“properties”: {
“cssurl”: “/Style%20Library/custom.css”
}
}
}
}
}
}
Review your extension works by running gulp serve. When prompted to enable debug scripts, opt Load debug scripts.
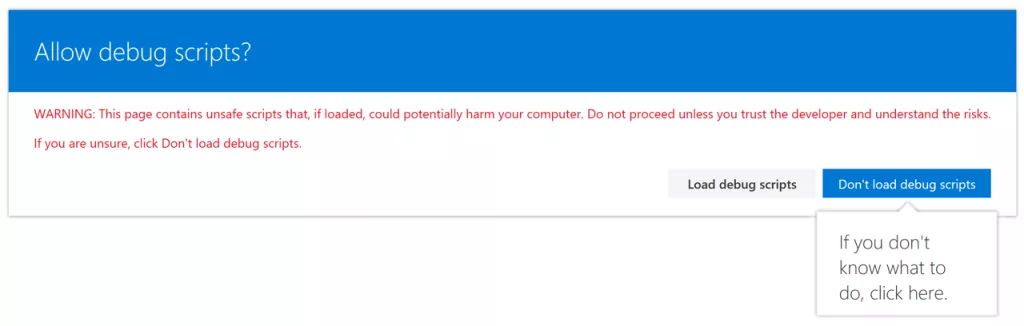
It is now possible for you to make changes to your custom CSS to meet your requisite needs. Continue to hit refresh till you are happy with the results.
Author Bio:
Harshal Shah is CEO at WebITGurus, WebITGurus is a best .Net Development Company Offering .Net Applications Development Services like SharePoint, C#, WCF Solutions, IOT Solution and Asp.net Development.
